There are a handful of wedding items that have become basic or expected items, that I agree are necessary and practical. I.e.: the Save the Dates, Invitations, RSVP cards, all for obvious reasons: to get the word out! Brides must remember not everyone has a computer, so you cannot expect everyone to go on your website and click "RSVP" just to save paper/money...
There are inexpensive ways to produce these items yourself, like I did. First: skip the fridge photo magnets. They're pricey, not everyone has a magnetic fridge facing, and even if it is magnetic, many folks are anti-magnets. I'm just sayin'... I get that it's a cute idea, and I'm not putting down those who send them out, this is strictly a DIY post to inspire alternative methods.
Below are bitmap versions of these items I created, either in Microsoft Word or Excel--super simple stuff, friends. They were as easy as fitting into the 4- or 8-card postcard templates, printing, and detaching at the perforated lines stamped on each sheet of paper, with an additional design element thrown in here and there... [refer to previous posts for paper type]


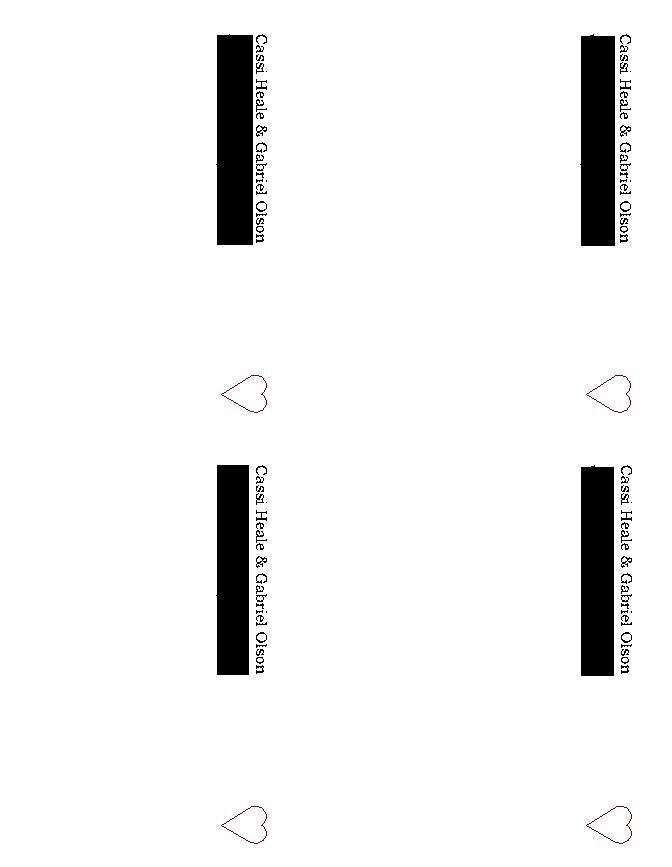
For the Save the Dates, we made them on 4-card postcards, printed front and back, with the photo of us in 'washout' so as to use less ink. One postcard was sent per household, with our return address printed on the reverse side (censored for blog), and a heart where the postcard stamp would go. Bonus! Postcard stamps are significantly cheaper than normal postage. We printed out mailing label-stickers for the recipients on Avery 30-label sheets in Word, which also acted as a general database for storing everyone's addresses for wedding related mailings and future needs.

For our invitations, we used the unbleached recycled 4-card postcard paper, and again, printed on front and back. The front informed guests of the basics, and the back had a simple map and specified that the ceremony and reception would take place at the same location. I used a silver metallic marker to draw a cute heart at the top of each invitation above the "Boy met Girl" line.
Honesty is the best policy, so be honest and remind yourself that rarely do guests save the invitations, or any paper good from weddings for that matter, so it doesn't make any sense to spend money on calligraphy/glossy hi-res color photos/embellished invitations that will likely be in the waste bin the day after your big day.
We printed the RSVPs with each guest's name typed on the lines under "Invited Guests," and the response options made it easy for people to give us a simple answer. Many people even wrote us fun notes on the remaining lines, which made receiving each one that much more fun! On the reverse side, the card looked very similar to the Save the Dates postcard mailings, and of course we stamped each card with a postcard stamp. These were packaged along with the invitations in a postcard-size envelope, and the cost per packet was less than a dollar, including postage!
The table markers were printed out on 4-card postcard paper, using yippy skippy font--same as our comment cards--and trimmed with a Martha Stewart paper edge cutter. We then glued each number to the inside cover of vintage books, a collection we picked up from Goodwill for a buck a piece.
The book covers matched our color palette, and we used the pages of the books to make petal cones for the ceremony! Each aisle chair had a cone full of petals (donated by our BM's mom from her abundant rose garden), attached with a straw ribbon loop. This project was practically free, and is one of my favorite, since we were able to be so resourceful to pull it off. They also contributed to my favorite photo from the ceremony:
not sure who wore that lipstick better, me or him...
Using the 8-card postcard paper, I printed out the notices we received from our honeymoon registry when people purchased gifts for us, which I showcased on our gift table '
honeymoon board' at the reception. By the way, the little orange man thumbtacks were a wedding gift from my MOH from CB2. Love!
Lastly, I know I wrote about the favor labels in a previous post, but I wanted to show you the trick I used on the 8-card postcard paper. I carefully measured and placed two asterisks on both sides of the labels, so that anyone helping me attach each one to the jam jars would know where to punch the holes for the hemp twine. It's the little details that, if overlooked, can cause frustration. Anyway, even with all that careful planning, things out of your control can screw with you, like my printer frizzing out on the second-to-last label each time...
Doing what you can on your own, such as projects similar to these that I am sharing with you, not only cuts down on costs, but waste and stress as well. Oh the stress and pressure of putting these projects in someone else's hands, even if they are professionals!
...But that mainly speaks to the control-freak Virgos. ;)
.More to come next week.


No comments:
Post a Comment